|
|
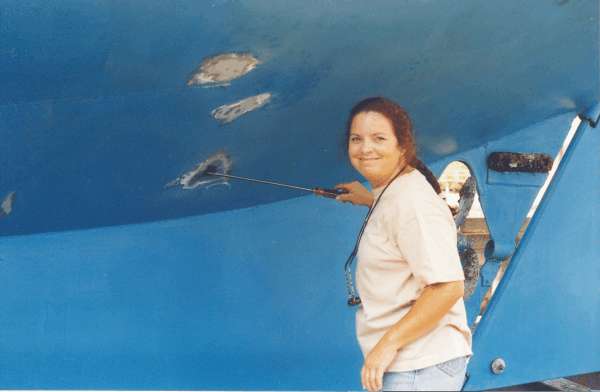
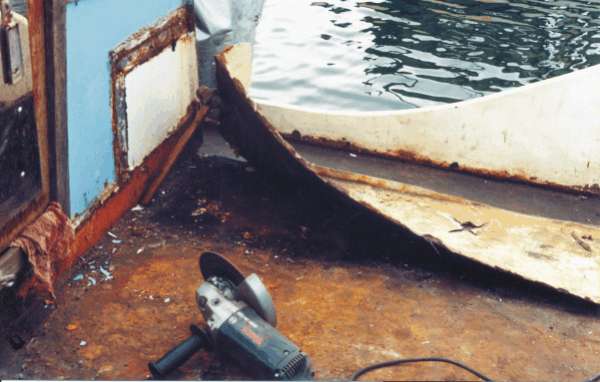
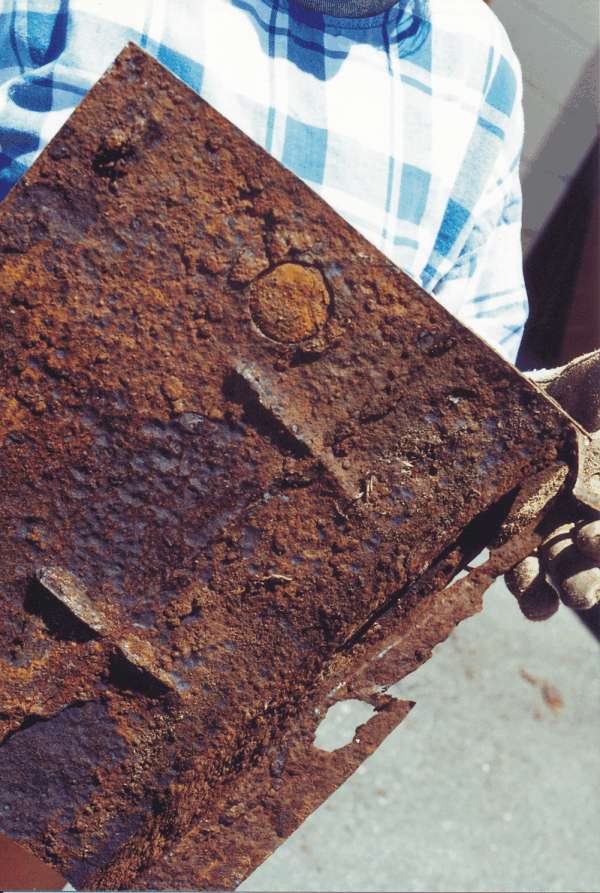
Our first clue, the little rusted spot
I saw at pre-purchase inspection and brought to the surveyors
attention. He said not to worry, 'a little anti-foul over it
the next slipping' This slipping was two months later and when
I scratched the spot the screw driver went through!! I hired
a local engineer to patch the steel and replace the worn cutlass
bush. They managed to put a huge ugly patch on the hull that
I later replaced and in the act of repairing the bush,they bent
the shaft and wrecked the cutlass and stern tube. It became obvious
the jeweller was going to have to learn about boat repair. |
|
|
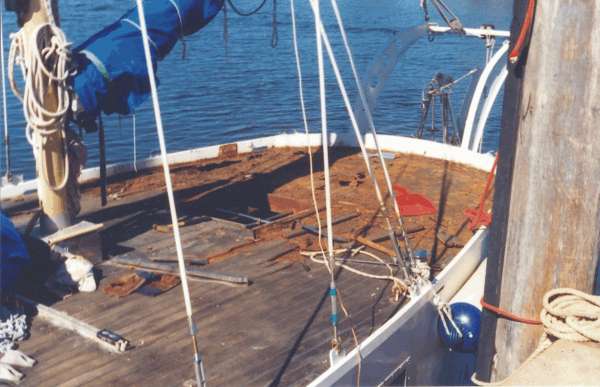
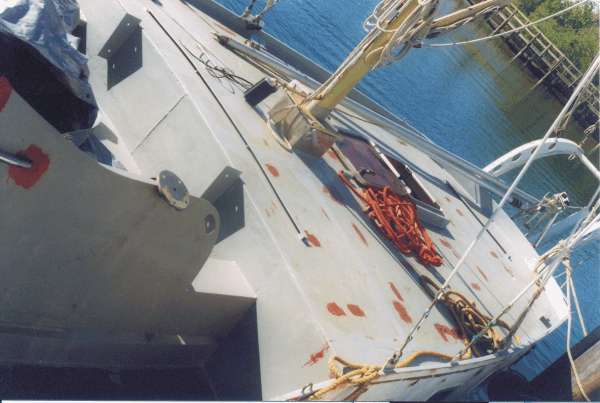
I asked the surveyor about the "bumps"
in the teak deck too. "Not to worry..." |
|
|
|
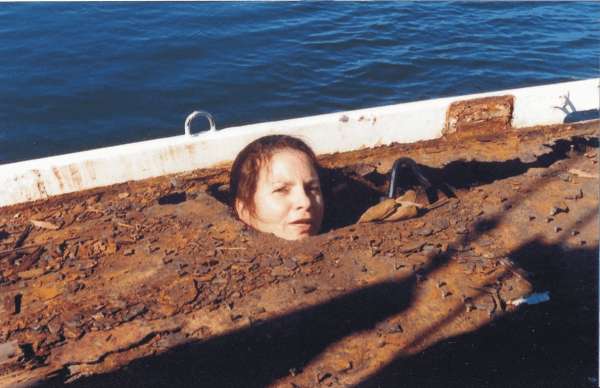
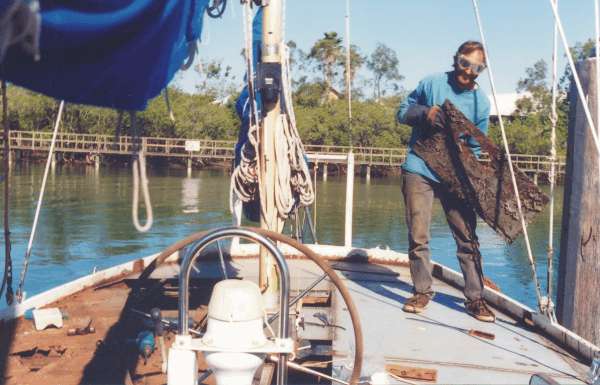
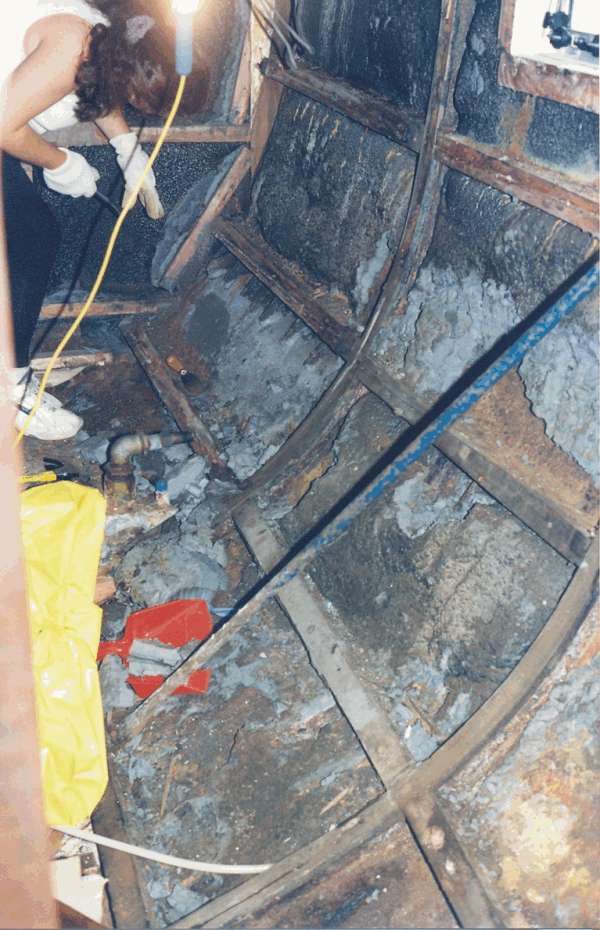
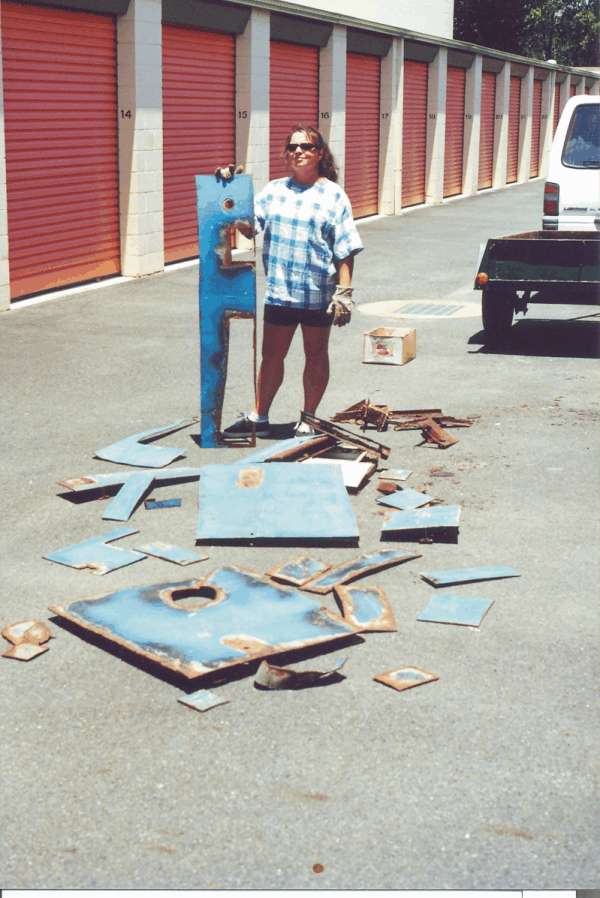
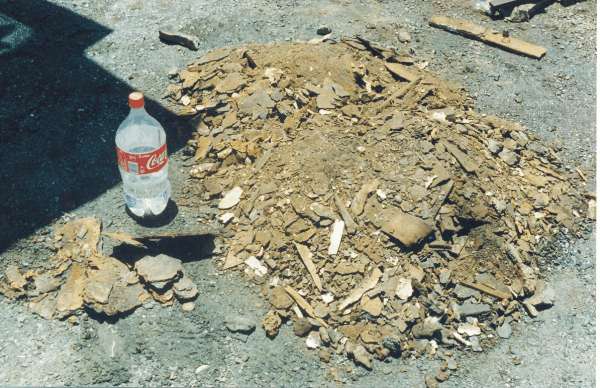
I have never doubted that I married
well. Kay was down below working and wasn't happy about this
photo but I wanted something to give a sense of scale to this
nightmare. There was no steel left under the teak. It was now
soil! |
|
|
Cut the old out and weld the new in. This
is my first welding job.... EVER! The
first go I shaped the sheets of steel to perfection. All a perfect
tight fit. Zero gap between sections. This was a disaster of
course as the welds started cracking later. After cutting all
the seams again and leaving a 3 mm gap, I got great penetration
and very sturdy welds. Another lesson learned. |
|
|
|
I was pretty proud at this point and
figured I was half done....... Another lesson learned. |
|
|
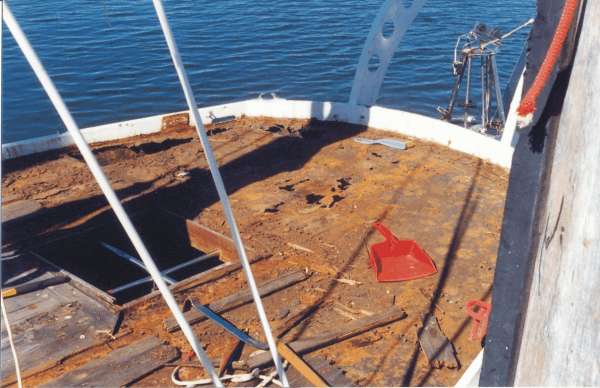
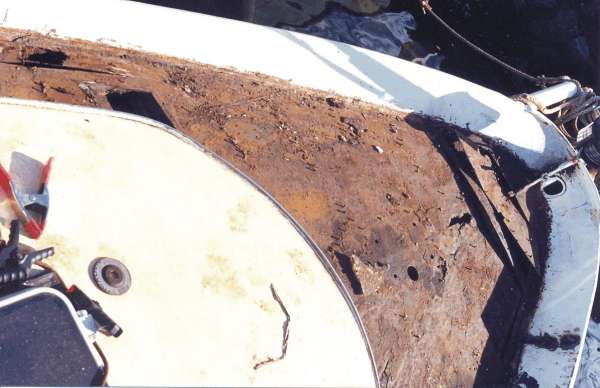
Of course the bow was just as bad and
was all replaced too. The side decks were heavily repaired but
saved in large part. |
|
|
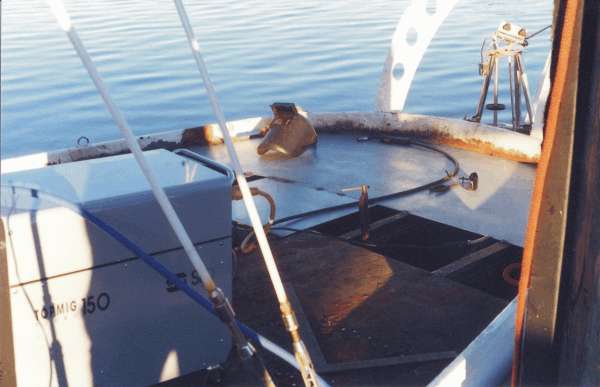
It looked OK under the cockpit seats...
but they had hidden the mess with a layer of fibre glass. This
shot is after I cut away the rotten combing. |

|
|
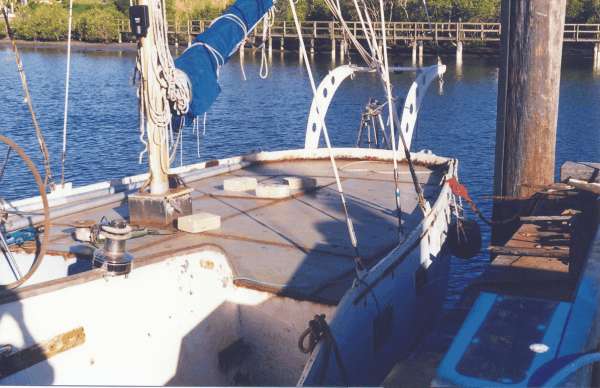
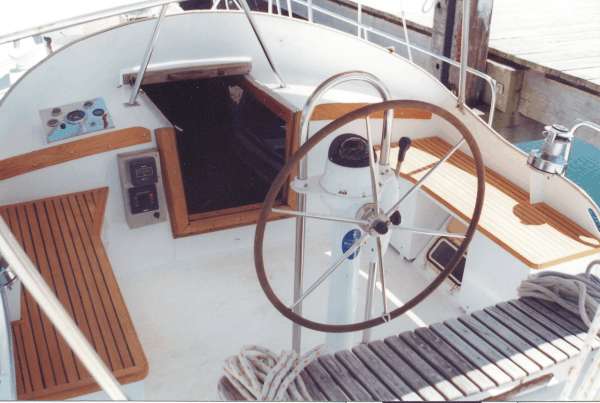
That's the cockpit... lovely eh? |

|
|
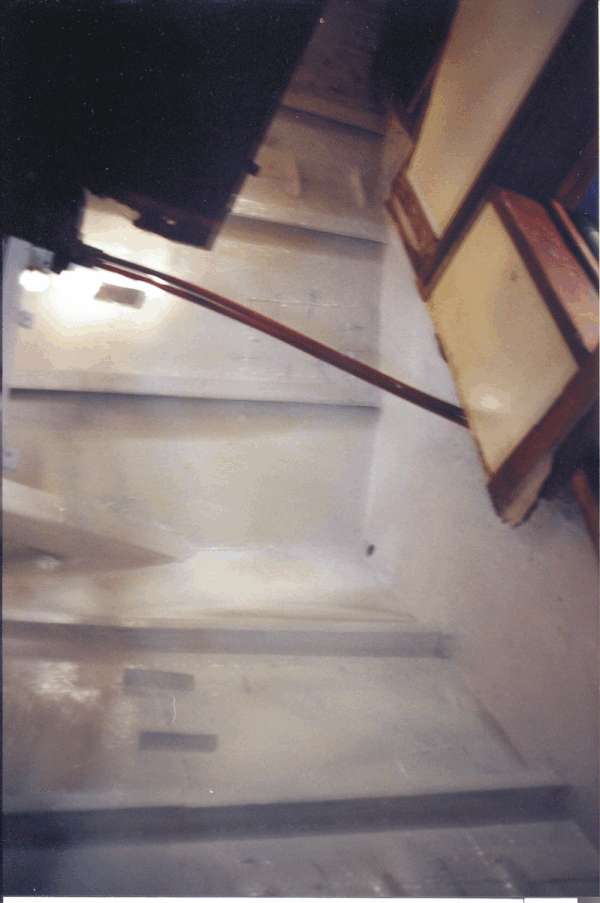
While I was at it I redesigned the whole
thing including a "light box" type thing to better
illuminate the Galley below. |
|
|
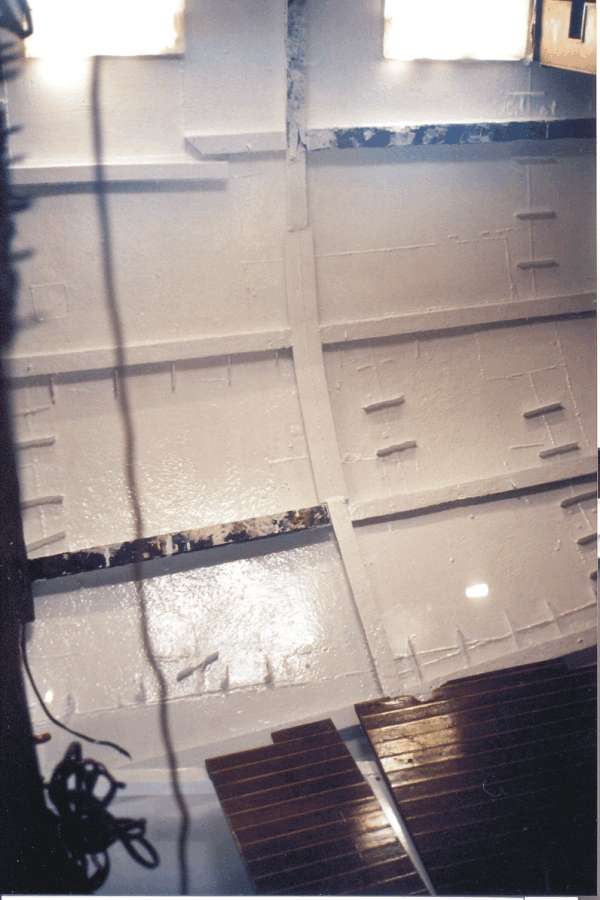
Progress.... The decks are now water
tight... so time to start below. |
|
|
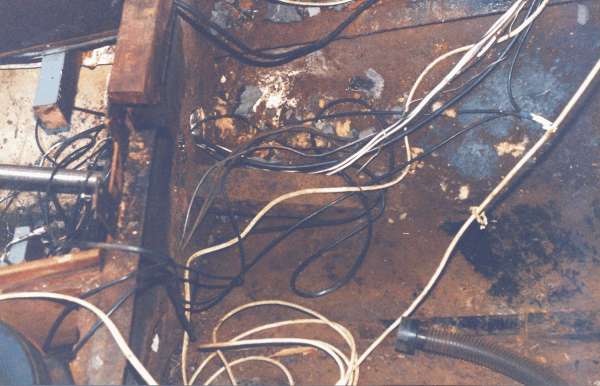
I have read old books on steel boat
building saying how good blown in polyurethane insulation is
in steel boats... BULLSHIT! Water soaks it and retains it. the
steel was a mess under the crap. |
|
|
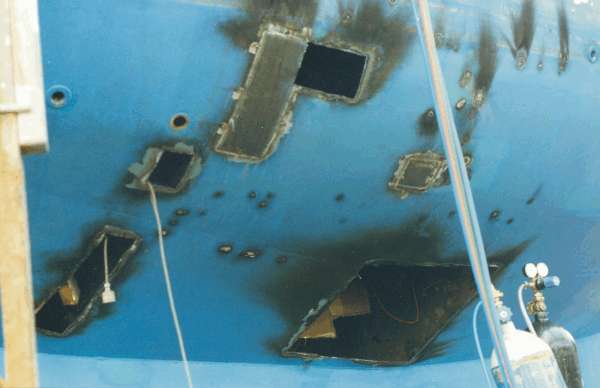
You can see some of my patches in this shot.
All the rotten foam gone, the steel scaled for days and a very
careful paint system installed. Lost count of how many layers
of paint. Two of pre prime, then a couple of epoxy primer, then
a couple coats of "jotomastic, then layer upon layer of
white polyurethane two part paint. about 12-15 coats in all.
|
|
|
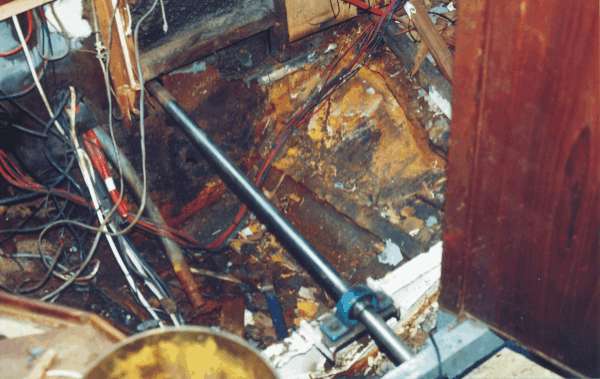
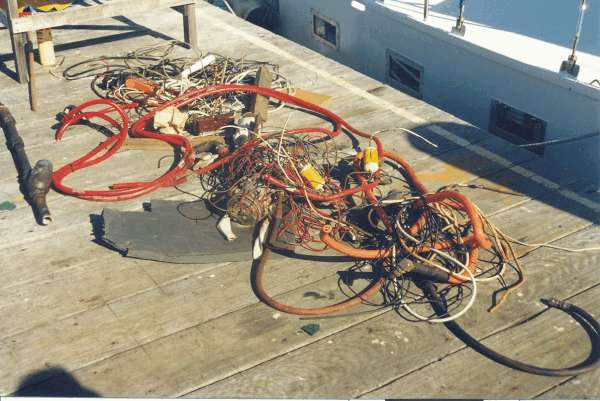
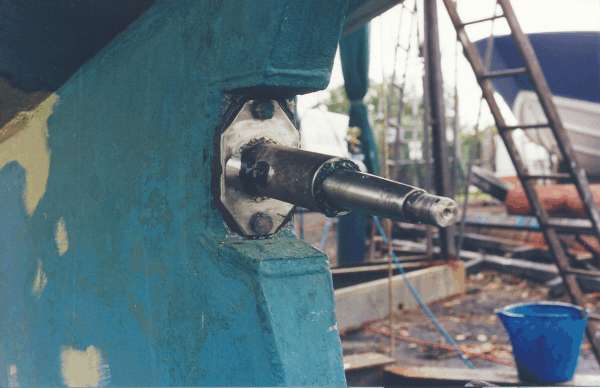
The prop shaft on left and the shaft
tube in center was all replaced with much of the surrounding
steel. |
|
|
After... |
|
|
This is the low point in the bilge,
the water tanks had been here, preventing inspection and hiding
horrible sins. I had to cut them to pieces to remove them. We
held off scaling the rust back till the boat was on the slip,
good thing as the tool punched 8 holes through the steel. She
was floating on rust and paint!! |
|
|
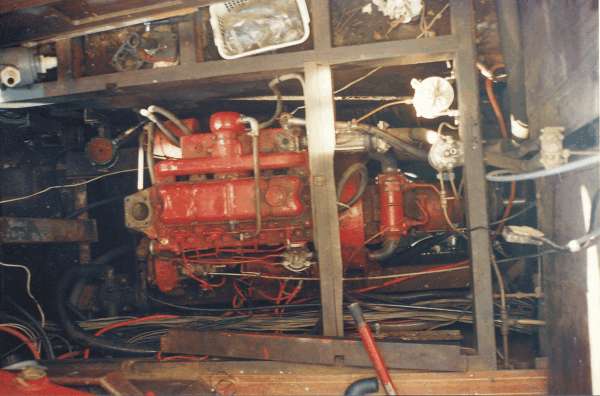
The engine was very good but the cooling
system/ heat exchanger was stuffed. In fact everything that was
bolted on was wrecked. The uetectic fridge system was a disaster
and I threw that rotten thing away and never missed it. Electric
is the way to go!!!(below) |
|
|
|
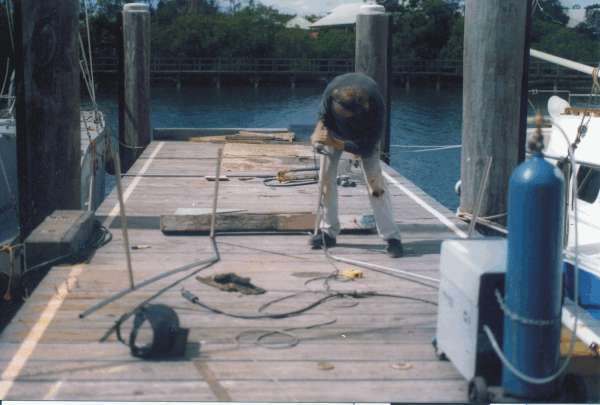
I did the stainless work in sections
on the wharf. |
|
|
Then checked by eye with Kay holding
the bits in place. |
|
|
Experimenting with the plastic window
replacements. |
|
|
This was all done on the slip and the
fishermen didn't like the slip tied up for long so we did it
in one week periods max, three sessions. We had two welders then.
I would work on the inside after cutting the holes and rough
cutting the patches. Kay would work outside hammering in wedges
behind the dogs to roll the steel to the shape of the round hull
as I tacked the plate from the inside before welding all around
inside. When done with that, I would come out and weld the outside
bead with the other, more powerful welder. Over 40 sq FT were
done this way. By this time especially, my welding was very good.
Not one leak occured when relaunched. No weld has had to be serviced
in any way. |
|
|
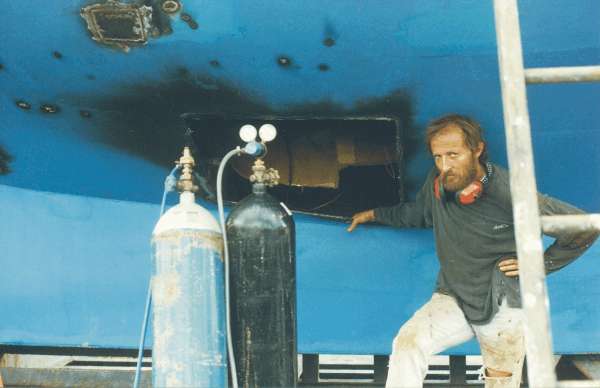
Go ahead... ask me what I think of surveyors... |
|
|
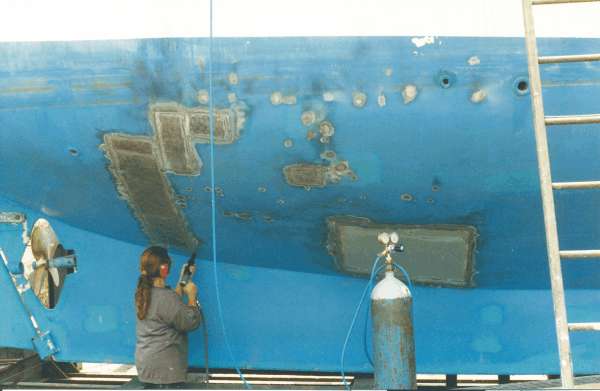
Kay insures the paint is chipped back
to firm before a coat of primer. The burn marks where there are
no patches are where I found isolated worm holes in otherwise
good steel. I would just weld them up from the inside. |

|
|
Good! |
|
|
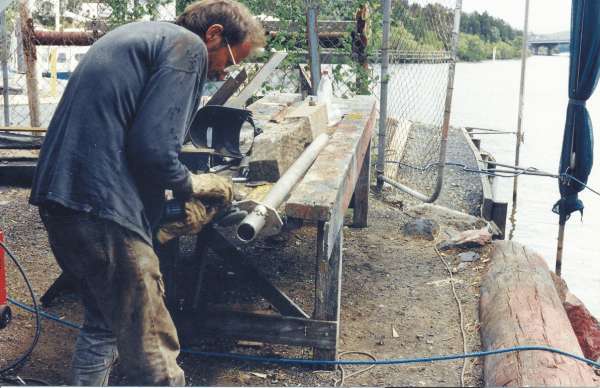
Now to repair the stuff the engineers
fucked up. I welded up a new stern tube out of schedule 80 stainless
pipe and 5/8 plate. |
|
|
Done! |
|
|
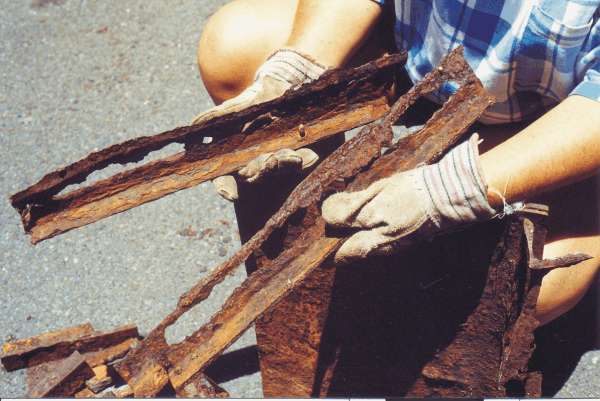
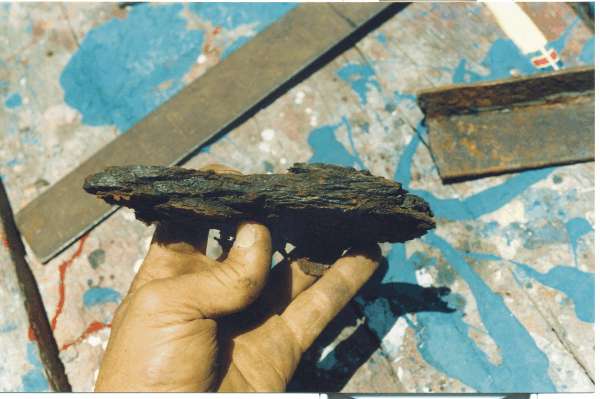
Didn't save them all but these are SOME
of the peaces of steel removed from under the water line. |
|
|
Good shit eh?! |
|

|
|
This is one of the water tanks I cut
apart to expose the bilge under the galley. It was holed (another
thing the surveyor missed) but notice it rotted from the outside
in!!! |
|
|
That pile of debris is rust scale. We
literally shovelled it out. |
|
|
It was surprising how thick the stuff
would get. |
|
|
When done the wood was kept to a minimum
and where it could be removed for service of the paint. Every
system of the boat was rebuilt and refurbished. All up 12
plates of steel (thats 1200X2400mm or 4" X 8") were
used in the repair and countless lengths of angle and bar. |
|
|
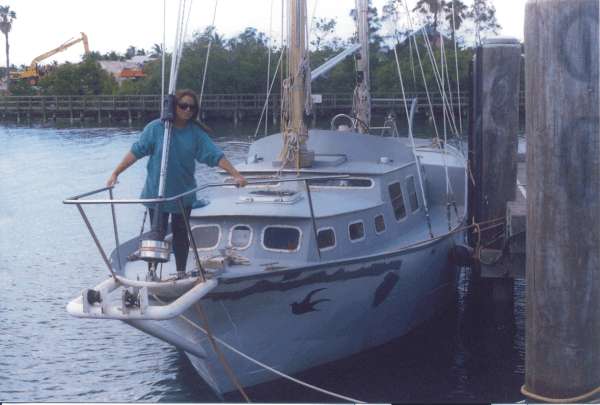
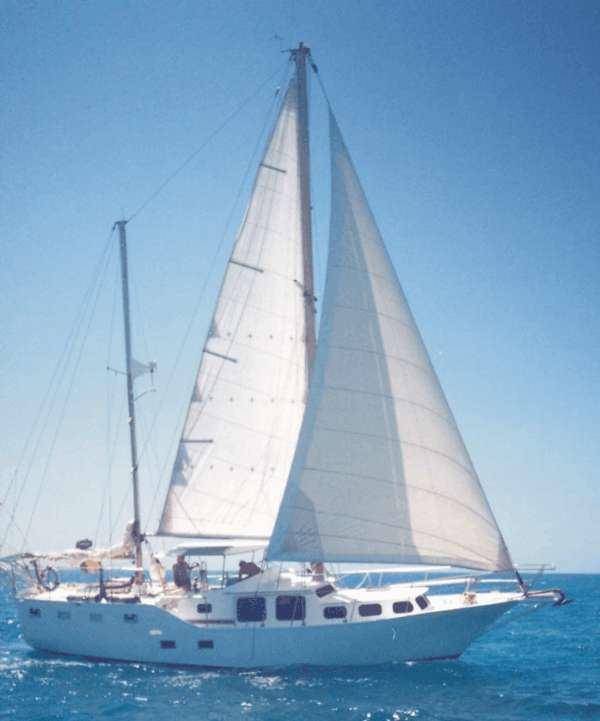
A
very good boat!... Now anyway. |