All photos and text in this
article are copyright and property of The Coastal Passage. Reproduction
or publication without the permission is prohibited. This information is offered for private use only
and remains the property of The Coastal Passage.
The Original
NORSON SPLICE. Designed by the
author to be the simplist to learn and perhaps as strong as it
can be done.
"PRO
SPLICE" This splice was discovered by "reverse
engineering" when the author cut apart a splice done by
a professional rigger in the UK. It's simple and easy.
The new NORSON DOUBLE SPLICE is designed
to satisfy the most sceptical rigger and sailor. A little more
complicated but with double the graphics to learn from, should
be do-able even for the novice.
In previous versions of this article
I had linked to a page from an American cordage supplier that
had what looked like a good, if complicated, splicing techique.
My intention was to go with their instructions and do one to
compare for strength with what I had developed. I spent two days
trying to make their miserable instructions work before giving
up. I found I wasn't the only one to try and fail. I began to
believe the instructions were never meant to be successfully
followed... in fact at closer look I think the method was not
possible as described. So.. back to the drawing board to develop
another method that can actually be done.
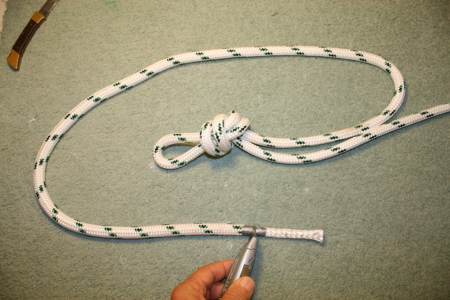
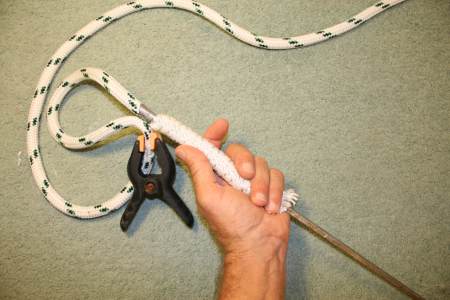
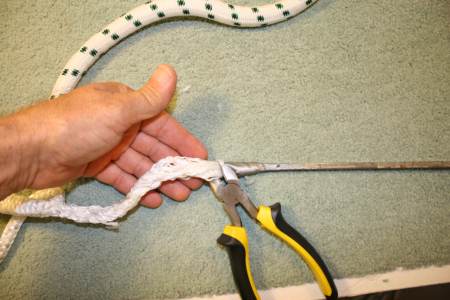
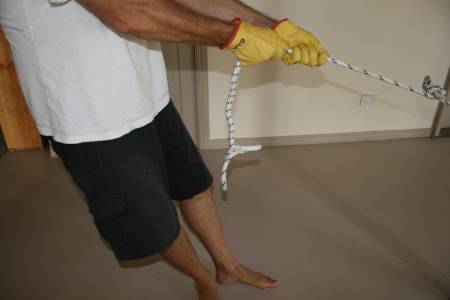
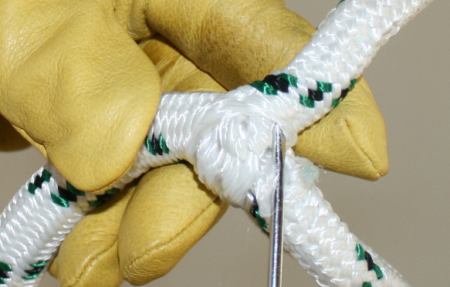
First step, get hold of the core and pull
it out the end of the cover for about 2 to 3 inches. (50 to 75mm)
Wrap some PVC tape tightly around the joint and cut. This leaves
you some extra cover material that will make life easier when
doing the last step. Also note the knot, this one is a little
to close to the work but I wanted to get it in the photo. This
prevents having to "milk" the cord over a longer length.
Recomend about 5 feet (1.5 metre) from the end.
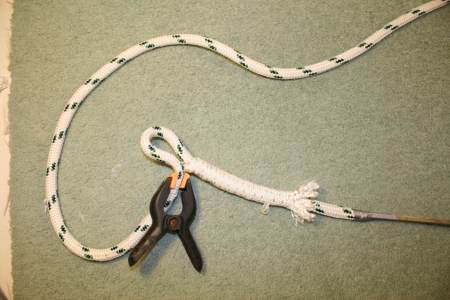
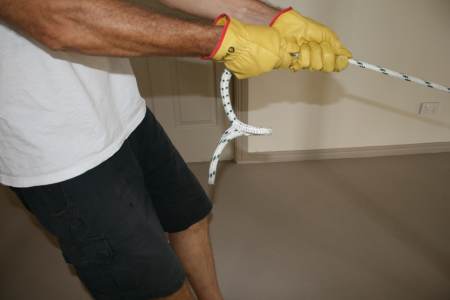
With a fid or any small tool, carefully
pry through the cover and get under the core and pull it out
through the carefully parted cover weave.
Pull the core out fully as shown...
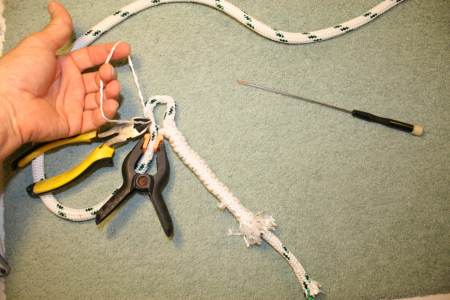
I have a long screwdriver for this
but any long tool with a smooth surface so it doesn't snag fibre
will do. Carefully push it through the centre of the core and
tape the cover tail to the tool.
Then as shown, pull the tool and
cover through the core. The more the core is shortened, the bigger
it becomes and easier to get through.
Stop there...
The cover shape can be manipulated
to increase the inside diameter to a point. The space available
is finite however. So.. since all this has to be buried inside
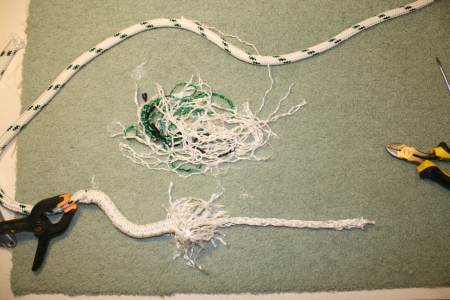
the cover eventually, we need to start trimming some of the strands
away to allow room. Near the 'top' start trimming strands and
pulling out the end.
Stagger the strands you pull out.
The idea is to reduce the bulk of the cover (that is now a core)
to about half .
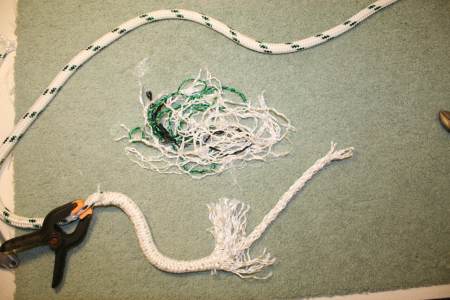
You should eventually have a pile
of strands as shown
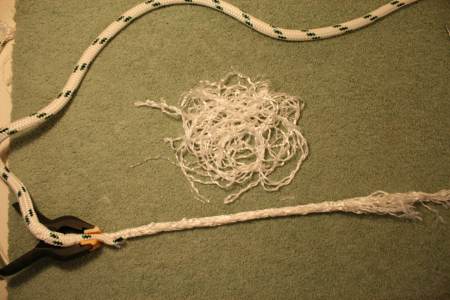
Now start doing the same thing to
the old core that is now on the outside. Stagger the removed
fibres.....
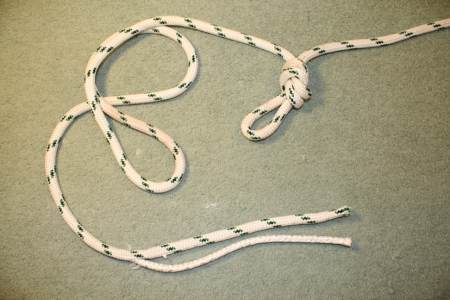
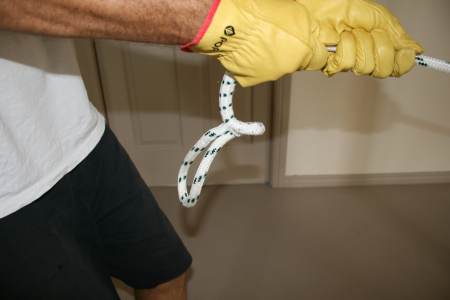
and this should be what you have.
Pull the maining core smooth and don't worry that the end is
rough and uneven.
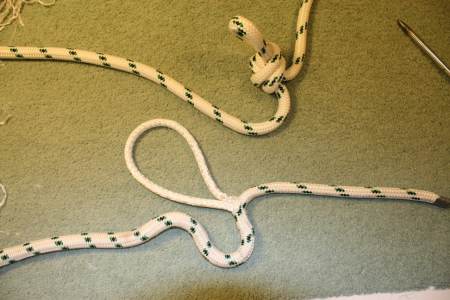
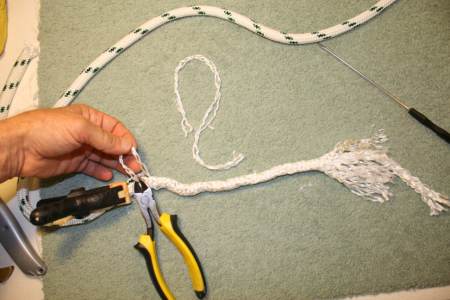
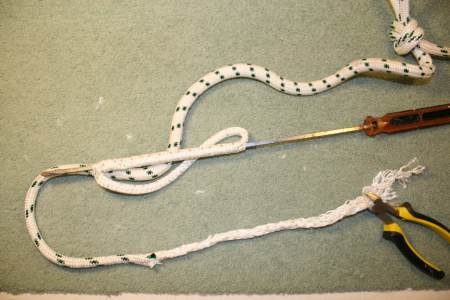
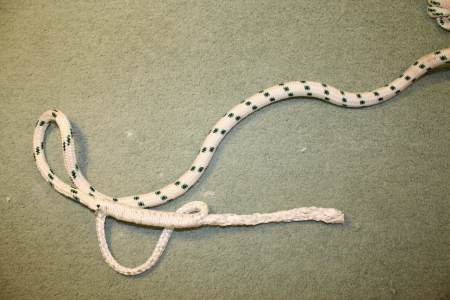
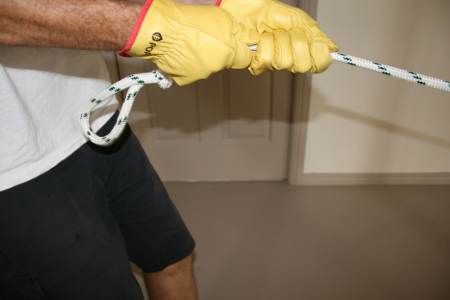
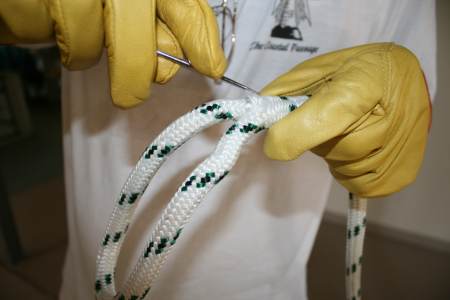
Now pinpoint where you want the loop
and dig out the core as before. Pull the core from the long part
of the rope. Try to keep the loop taunt.
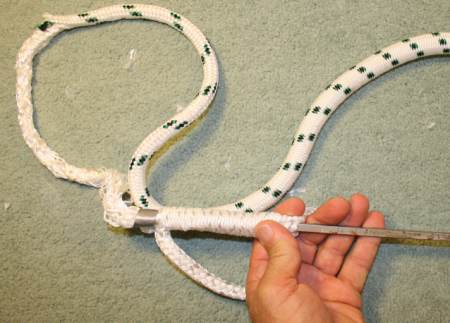
With your 'fid' or whatever.. push
it through the middle of the core you've extracted. The end of
my screwdriver is on the side of the extracted core that faces
the loop. Cut the excess and ragged ends of the new core so you
can ...
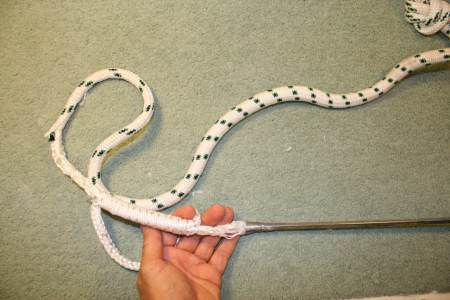
tape it to the end of the fid and
start carefully drawing through the core..
until it's through...
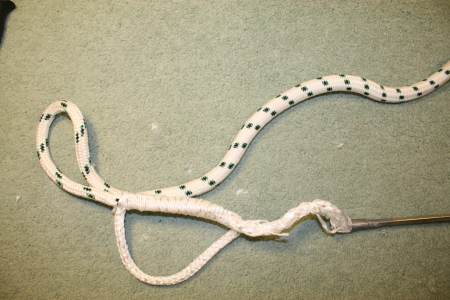
and the spot where old cover and
core are joined is just inside the core.....
then cut off the taped section. It
doesn't pay to try to peel the tape off.. makes a mess of the
loose ends..
looking tidy..
now milk the cover over the old cover/core
without disturbing the location of the part near the loop.
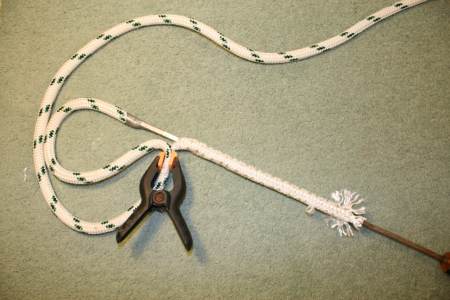
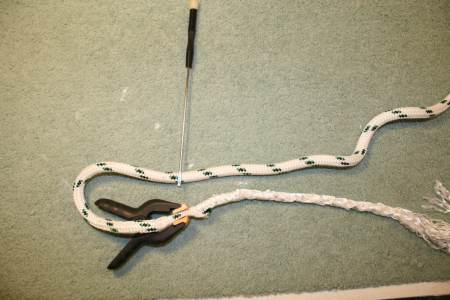
find something sturdy....
and start milking the cover over
the new core assembly...
notice how fat the cover is on the
side facing you...
more...
you may repeat the milking from the
length of rope up to the knot to get that last bit... or...
if it is really being difficult it
could be because the core has bunched up next to the loop. so
get a very snall screw driver or something similar and get under
the cover and gently pry is up using the core as a fulcrum, thus
pushing it down in the same move. Do this all around the bunched
up core and milk again...
if you still have a spot or two that
isn't buried well, you can repeat the step with the tool and
or...
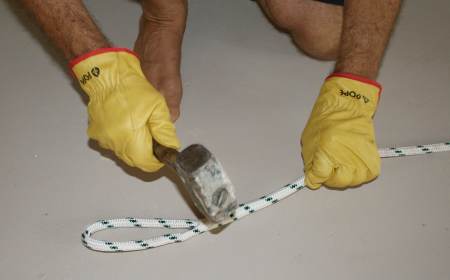
put the splice on a hard surface
and use a hammer to gently tap around the lumps and high spots
that are causing the bottleneck and milk again...
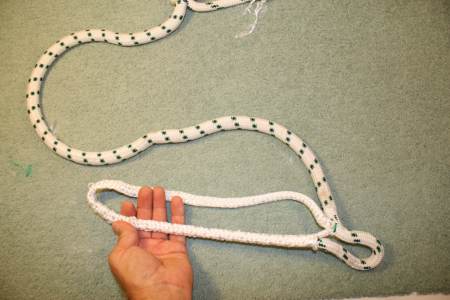
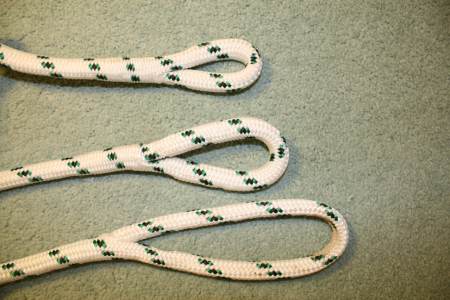
I took three splice attempts to work
out this system and perfect it. The next three are shown here.
The one on the bottom was used in the "test" (see below)
and because of the strain applied is particularly smooth and
tidy.
You must note that all this is a method
in art as well as science. If it doesn't work well the first
time you have lost some time and a half metre of rope. Think
about it and try again.
Have a question, comment
or suggestion to improve the method? Email
me
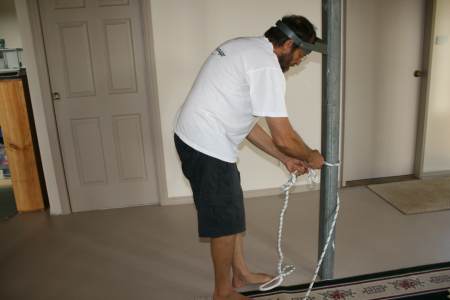
So.. what happens when you put the
Norson Splice on one side of a test line and the Norson double
on the other, then drop the clutch on the four wheel drive??
Click above and see....