|
By Petrea Heathwood, SY Talisman
In the previous edition of TCP we saw maintenance
of the rig mostly involves checking for existing problems and
preventing new ones. The options for maintenance aloft range
from a basic inspection to removing each piece of rigging to
check its condition and attachment point. If you feel the latter
is necessary it's probably better to pull the stick out and do
a thorough check at ground level.
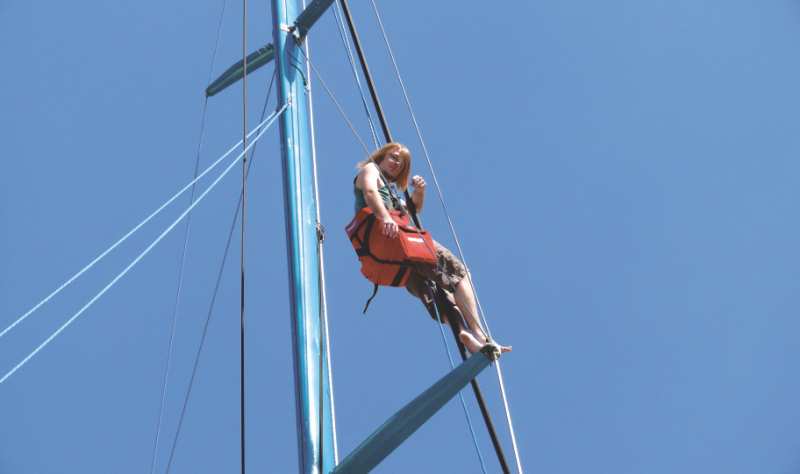
The first consideration in going up the
mast is who goes up. Obviously the lightest member of the crew
will be easiest to hoist but there is no point sending your wife
or teenager up to check the rig unless they know what to look
for. It's the skipper's responsibility so the skipper should
usually be the one to go up there.
Your first time?
Climbing a mast can be daunting if you've never done it before.
I disagree with the conventional wisdom not to look down. Once
you've sorted out the safety aspects and your actual method,
my advice is to climb up in small increments, getting used to
the height as you go. Use your safety line at every stage so
you can't fall if things go wrong on deck.
The Bosun's chair
The chair should be strong and in good condition. Even if it's
new don't assume it's safe. I've seen stitching give way on new,
brand name chairs. Inspect and test the chair before trusting
it. Even in my old faithful bosun's chair I like to bounce a
bit just above deck level before climbing any higher.
Use a conventional cloth type chair with
a solid seat. Soft bottom wrap around designs are promoted as
having a snug fit and this is certainly true. While they're light
and compact to stow, for extended work aloft they're uncomfortable
and restrict circulation to the legs. Worse still are the adapted
rock climbers harnesses used by professional sailors on the pointy
end of big racing yachts.
Choose a chair that fits you, neither too
small nor too roomy. It should have large tool pockets which
are easy to use. Make sure the hoisting point is low enough to
allow you to reach the masthead. My own chair has secondary lifting
rings at hip height. To get right to the top of a mast I can
cinch these together with a spare line and use it to hoist myself
that last few inches.
Going Up
1. Do it while the boat is afloat. Most boatyards ban the practice
of climbing the mast of a boat on the hard, and for good reason.
A keel boat propped up ashore is defying gravity and your weight
jerking around aloft can cause it to lose balance.
2. Attach two halyards to the chair using separate shackles or
knots. Don't trust snapshackles for this job.
3. Assign two people you trust to control the halyards and keep
both taut. The halyard tailers must look up at the person in
the chair, not down at what they are doing.
4. Use a safety line from the chair to the mast at all times.
About a metre of 6 or 8mm line tied tight round the mast can
be slid up or down manually but won't slide down if weight is
thrown on it suddenly.
5. Keep clear below. Don't allow anyone to stand beneath a person
working up a mast.
Once the chair is set up for hoisting,
climb in and try it under your weight. I prefer to climb up and
have the halyard tailers keep the halyards tight as I go. If
they coordinate their pull on the halyard with your upward pull
it can help enormously. Alternatively you can just sit in the
chair and have them winch you up if you're not fit. Either way,
take it easy and don't over exert yourself. It's no place to
have a heart attack.
At each stop on the way up the mast keep
your safety line attached and have your assistants tie off the
halyards. While the climber is at the top of the mast, the assistants
should flake down their halyards ready for the descent.
Descending
When the person up the mast is ready to come down the halyards
must be untied without losing any tension. It's disconcerting
to be dropped even a few inches when the halyards are released.
The primary halyard should take the weight
while the other is kept slightly slack. The reason for this is
friction. As the climber descends the halyard is eased out smoothly.
It must be released under full control without binding on the
winch. Two turns on the winch is the maximum needed, one is usually
enough. Too many turns will cause the halyard to stick, resulting
in a series of bounces for the person in the chair.
Getting ready
Older painted masts are usually chalky so wear overalls or similar
gear. Some people like the feel of climbing barefoot but I protect
my feet with shoes and socks. You'll need to take the appropriate
tools for your rig but I would suggest: |
1. pliers or multigrips
2. flat blade screwdriver
3. Stanley knife
4. WD40 with a tube on the nozzle
5. Shifting spanners to fit any rigging screws you need to work
on.
6. rag and waterproof grease
7. any allen or hex keys needed to fit spreader end fittings
8. Duralac
To keep from spreading grease, Duralac
and WD40 over myself and equipment I take a roll of toilet paper
instead of a rag and stuff used squares into a separate pocket
on the bosun's chair.
Doing the job
I check as I climb. It makes the climb easier and seems logical.
What to look at depends on the layout of your mast but I'll try
to cover a “typical” mast. You're looking for much
the same things as you did at deck level. Corrosion of dissimilar
metals, cracked fittings, seized sheaves, worn pins, stranded
wire and bubbled paint.
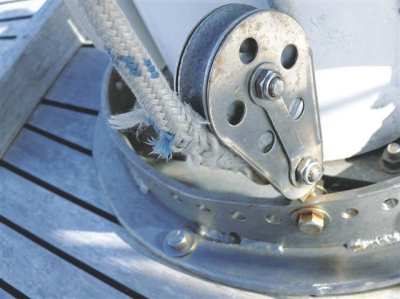
Just above the gooseneck may be a group
of sheave or exit boxes for halyards. Check fastening screws
are tight but not seized; sheaves turn freely and not worn on
one side. If you have mast climbing steps check their fastenings.
Spinnaker or whisker pole tracks should be well secured and not
bent or damaged. Slides should run freely.
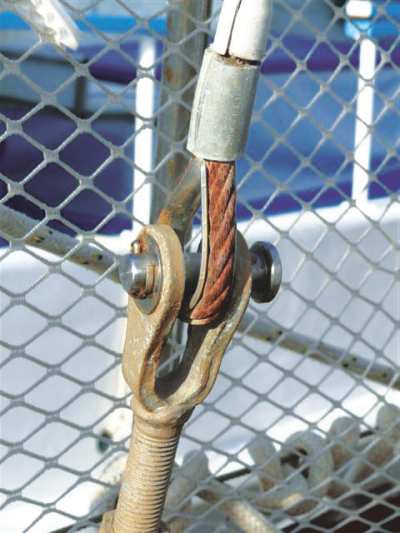
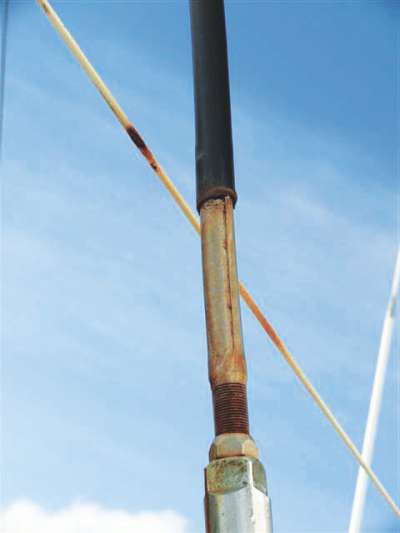
The attachment points for the lower shrouds
will be just below the lower spreaders. Ideally you will have
someone loosen each shroud so you can check the clevis pin and
tang for wear. The bolt holding the tangs should be straight.
Check the nuts are sitting flat and not tilted slightly towards
the mast at their top. This would indicate a bent bolt, which
needs to be replaced.
Caution
When replacing through-mast bolts take care not to dislodge the
compression sleeve inside the mast. It will be visible when you
remove the nut and tang.
If t-balls are fitted instead of tangs,
check the t-ball for cracks and that the receiving plate is sitting
snugly against the inner mast wall. Black marks around the rivets
here indicate movement, which could be serious.
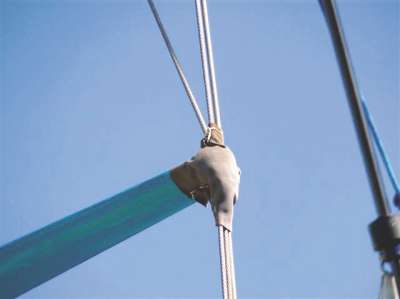
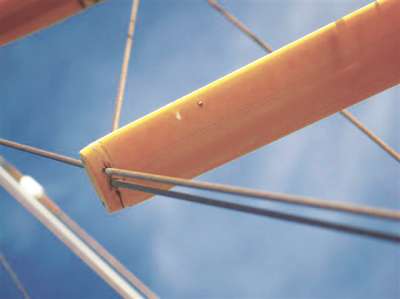
From this position check the base of the
spreaders for cracks and signs of movement. Move out to the spreader
end and remove the spreader boot or covering tape. The cap or
upper shrouds should be held to the spreader ends in some way.
This could be a wire seizing, or a clamp welded to the end of
the spreader arm. Undo the clamp and check for corrosion where
the wire meets the aluminium. Apply Duralac paste if necessary
and re-clamp the spreader end. Replace the boot or tape. If you
have intermediate or diagonal shrouds terminating here, undo
and check them as described in Part 1.
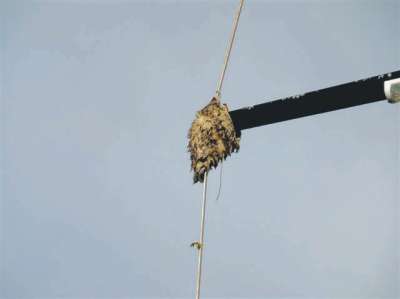
Often the lower spreaders are the site
for a steaming or deck light. Glance at this but if it works
leave it alone. If not now is the time to take it apart and find
out why.
Climbing further up there may be a second
set of spreaders to be dealt with in similar manner to the first.
Somewhere between the lower and upper spreaders there may be
a fitting for a spinnaker pole topping lift, and a tang for an
inner forestay or babystay. Check these and lubricate any exit
box associated with them.
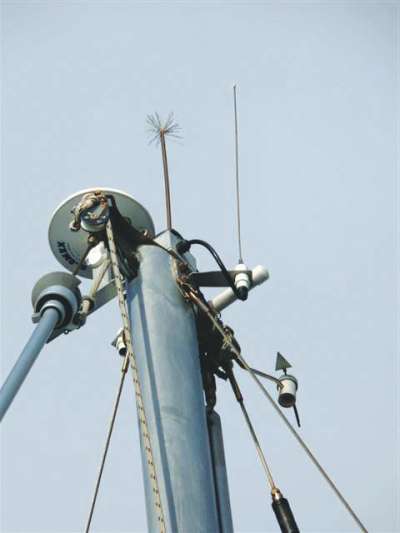
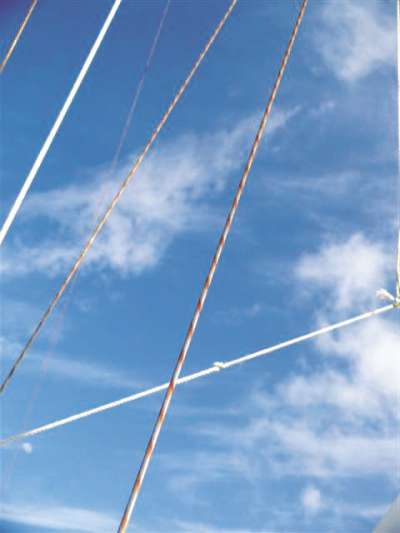
At the top of the mast check the pins for
the forestay and backstay, and the tangs and bolt for the cap
shrouds. If you have a furler, check it is not wearing the wire
of the forestay and its top cap, if any, is in place. By moving
spare halyards over the sheaves you can see if they or their
pins are worn. Alternatively poke the sheaves upward with a screwdriver.
Movement here indicates a worn sheave hole or pin. Check the
sheave pins are straight. If they're OK, lubricate with WD40.
(I say WD40 because it comes in an aerosol can. Light machine
oil is better but much harder to apply in this situation) Up
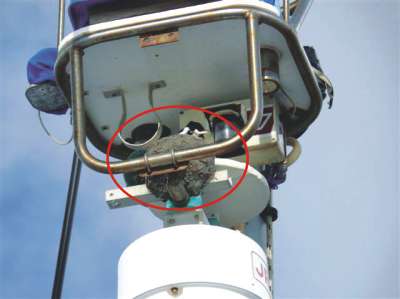
here may be all sorts of antennas and lights. Again, I would
suggest you leave them alone unless there is a known problem.
Try reaching up to whatever lights you have there to find out
if your bosun's chair allows this. Many of them leave you short,
so you need to cinch yourself up higher on the safety line.
Now you've completed the work, relax and
have a good look around before readying for the descent. You
will have briefed your deck crew to lower you slowly and steadily.
If they are new to this remind them to look up and watch how
you're going.
Once safely back on deck you can be satisfied
you know the condition of your rig and any problems it may have.
Even if you need to call in a rigger at this stage you will appreciate
their work and understand what they do to charge you so much
for their services.
One last thing
Now you've gone to the trouble of checking your rig, make a note
in your log book. Then do it all again next year. |